I can’t get this song out of my head, it has become an earworm and I play this on repeat on my phone. I can’t explain why but I love this tune
Can’t Stop Listening To This Song
Leave a Reply

I can’t get this song out of my head, it has become an earworm and I play this on repeat on my phone. I can’t explain why but I love this tune
This is my song of the week. I can’t stop listening to this on my phone. I love everything about Laura Mvula. Her voice, her music, her style and the video is a work of art. I can’t wait for her next album to come out.

I work in Tech Support for a Web Hosting Company and we get a lot of customers calling us for support when their WordPress websites get hacked.
These are my top tips to protect your website.
These are all common sense tips and not difficult to implement on WordPress. Always be proactive about your website and don’t wait until it is too late. Always discuss your security concerns with your developer or designer.

I recently bought a T8-AML-V2 Amlogic S802 Quad Core 2.0 GHz Android 4.4 Mini 4K TV BOX from droidsticks.co.uk
This was bought as a bundle with the S77 Pro remote keyboard

The T8-AML-V2 comes with a standard remote, power cable and hdmi cable. Pretty much everything you need to get started.
I also bought the Rii Mini i12 Wireless Keyboard

The T8-AML-V2 has the following specifications:
Amlogic S802 2.0GHz Quad core
2GB DDR3 RAM
8GB ROM
10/100M LAN
802.11b/g/n Dual Band Wi-Fi
Kodi pre-installed
The T8-AML-V2 can play Ultra 4K video and 1080P videos in Kodi without any issues.
The setup is pretty straight forward and the T8-AML-V2 is already pre-loaded with Kodi. Kodi has replaced xbmc and is a multimedia player that can be used on a multitude of devices from PC, Android and a Raspberry Pi and everything else in between.
With Kodi you can also install a variety of different installers. I used the Wookie installer. I have tested Kodi running Wookie on both the T8-AML-V2 and a PC.
There are loads of videos and tutorials on-line on how to install the latest version of Wookie.
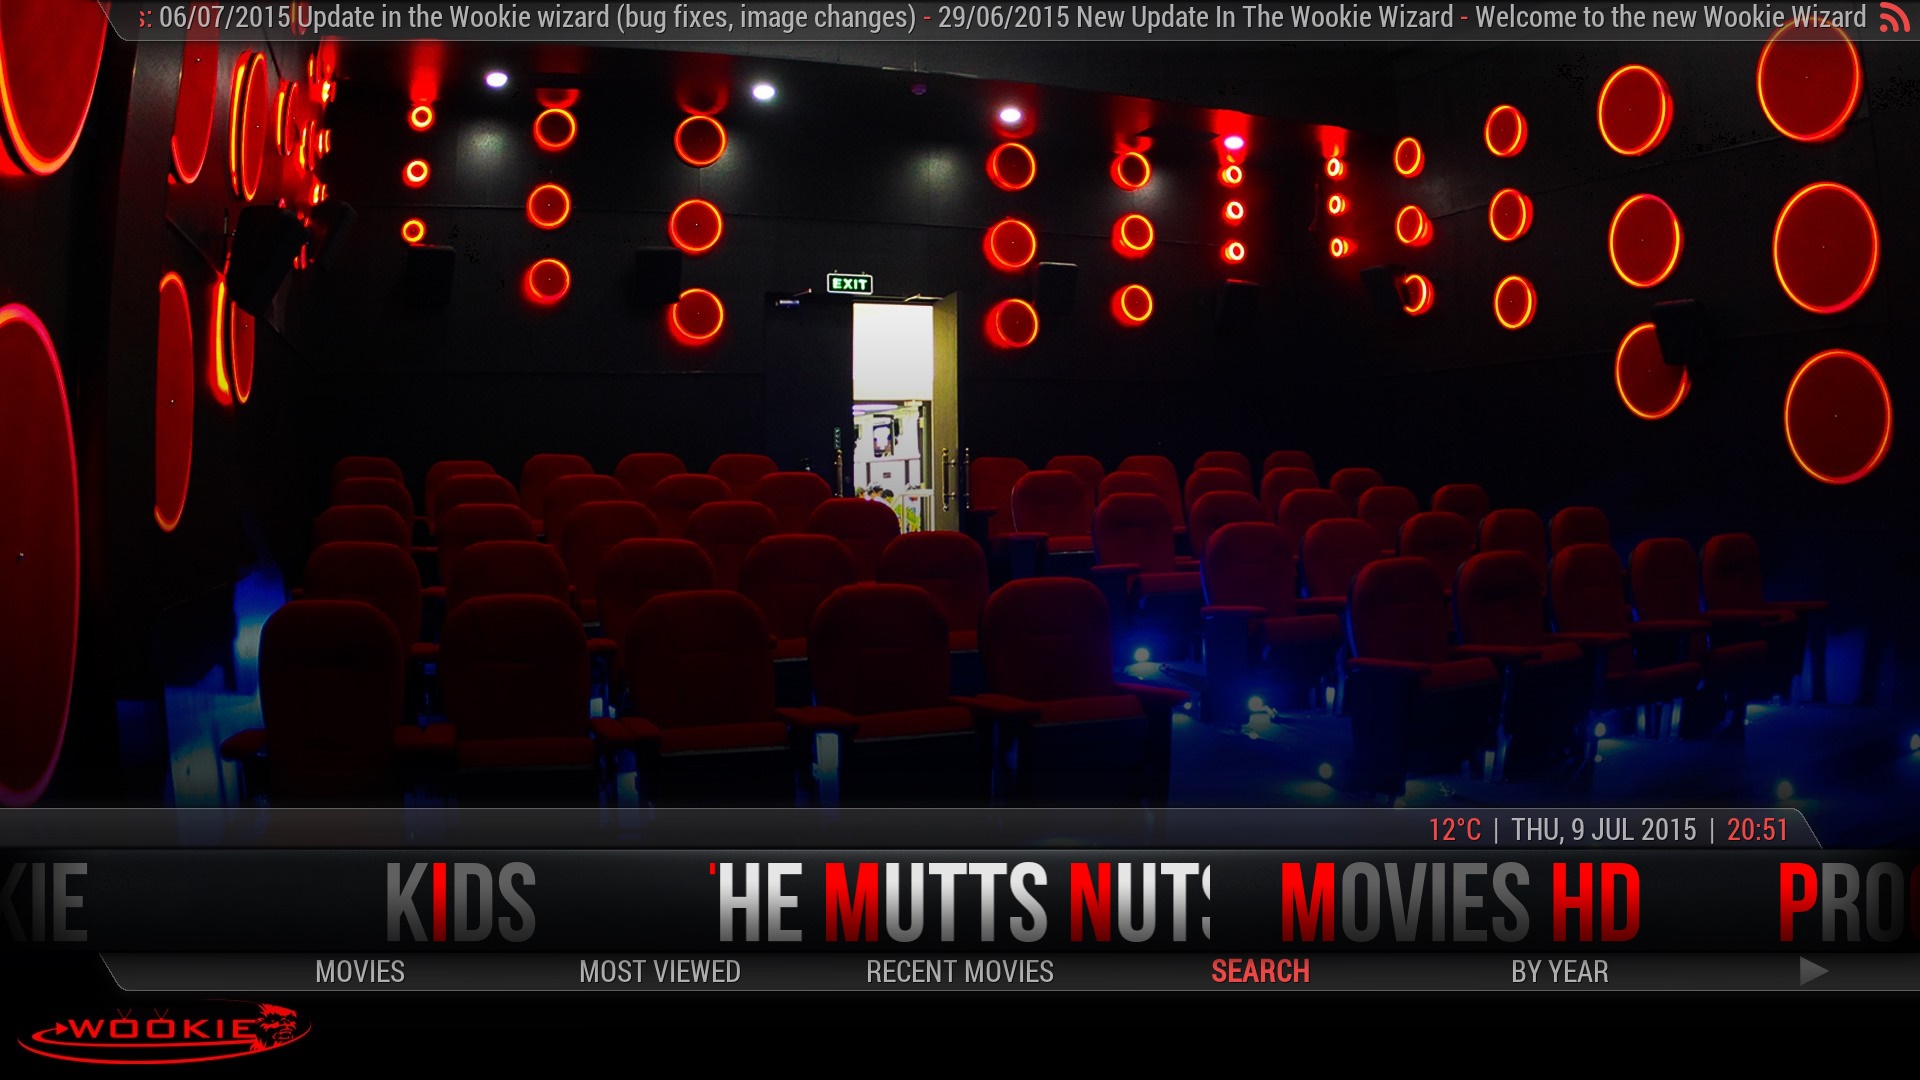
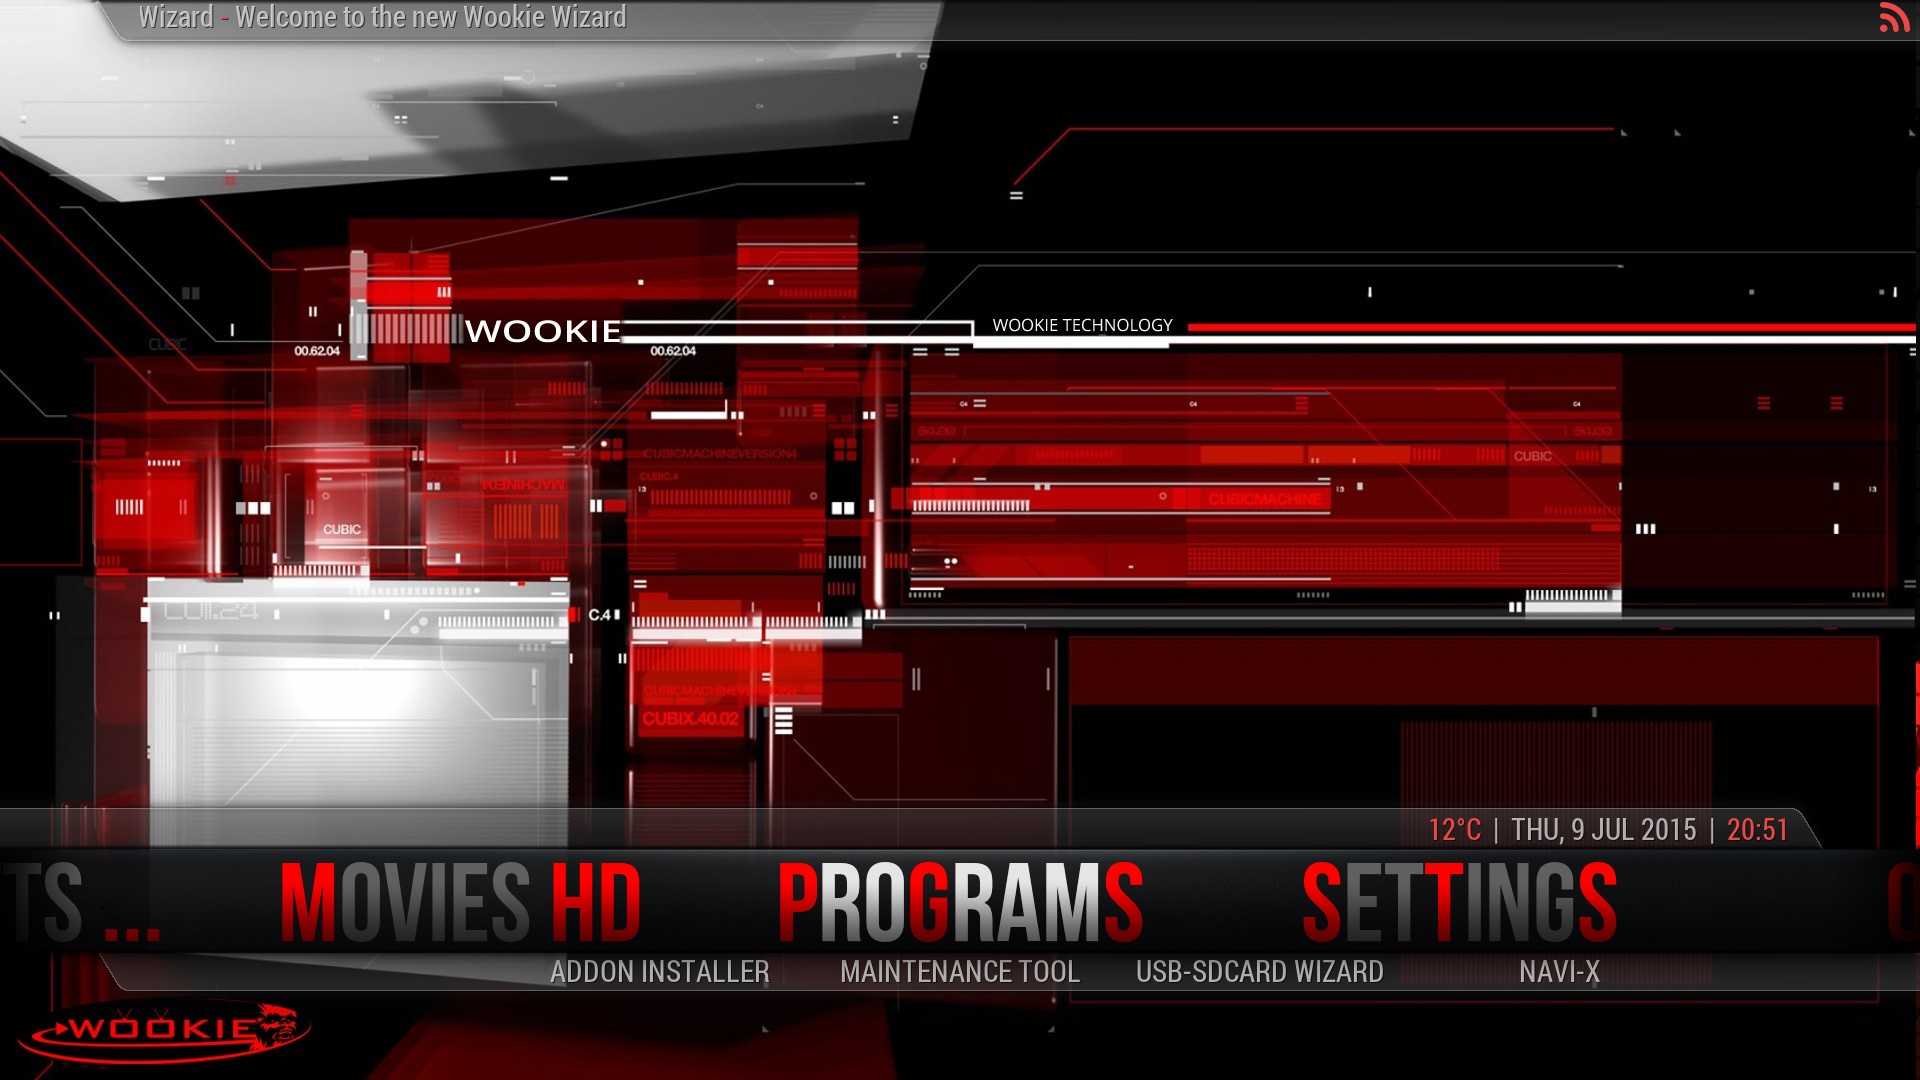
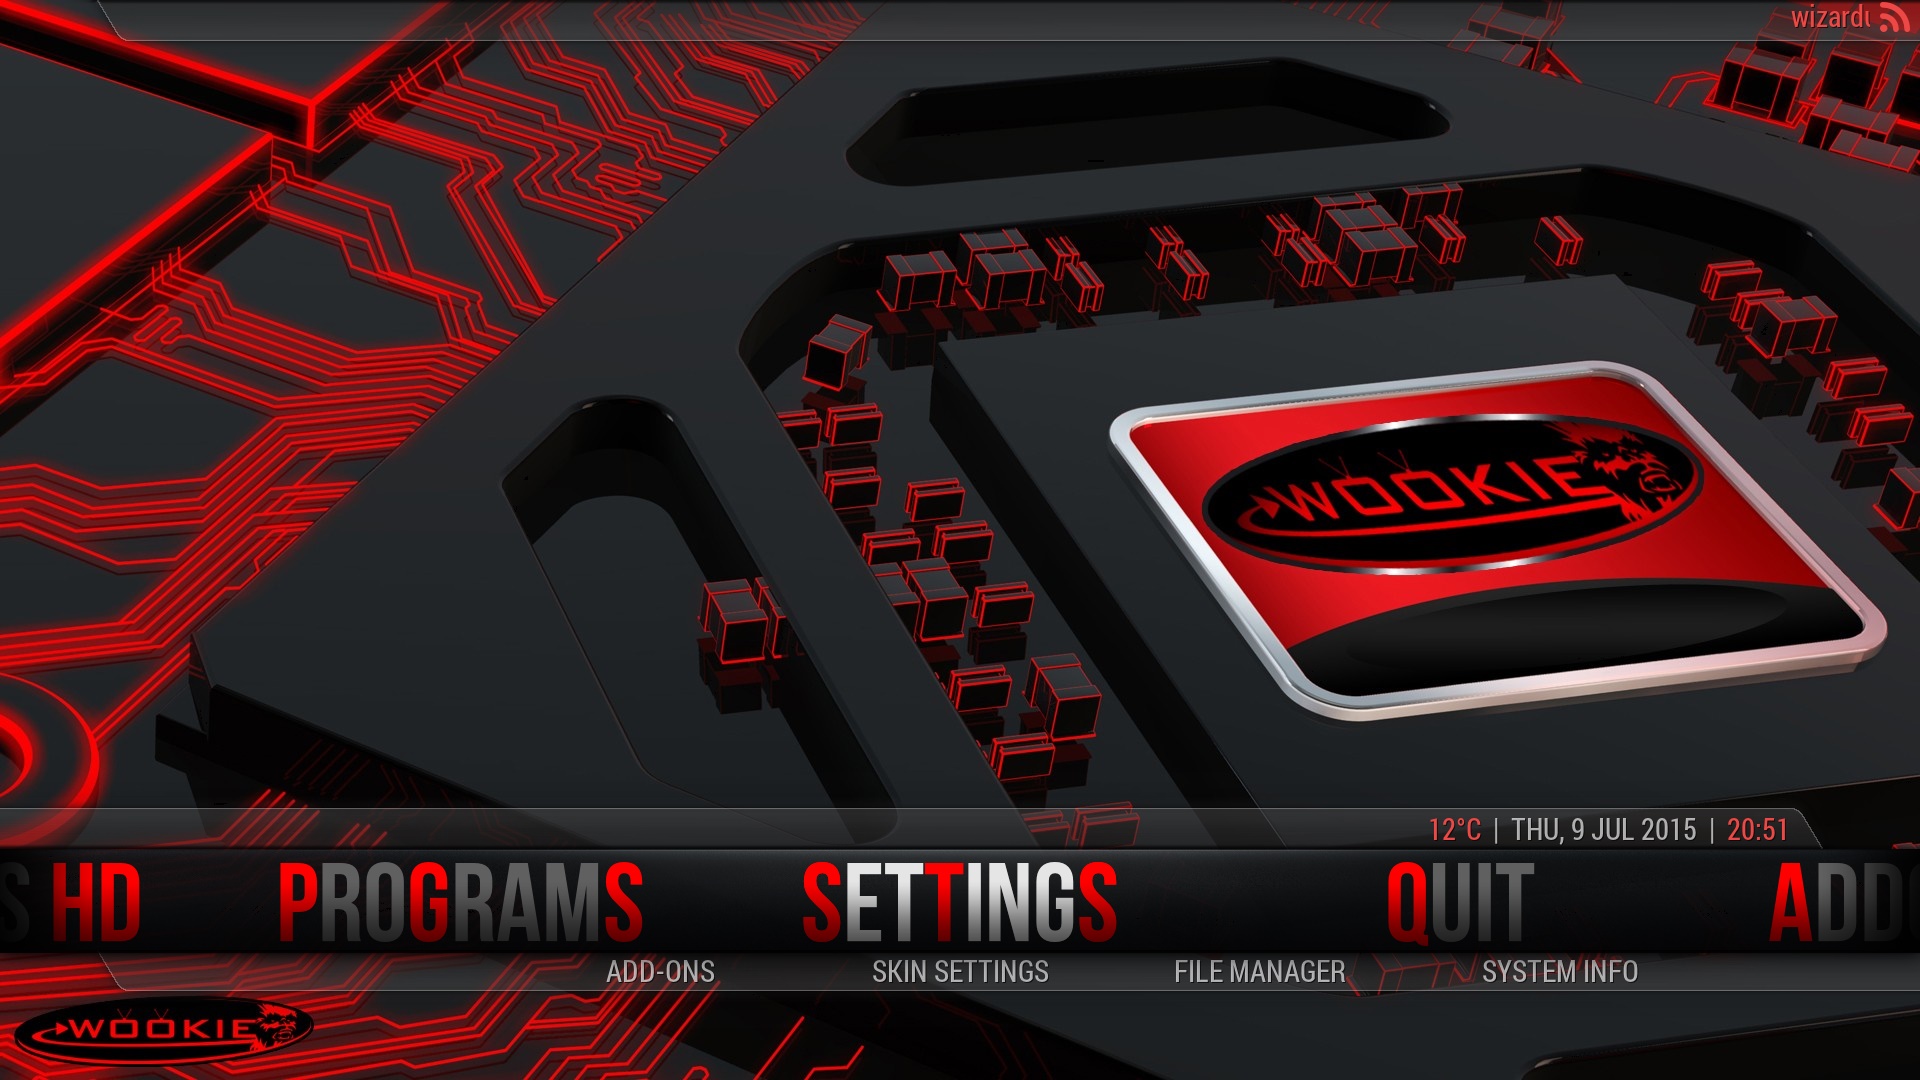
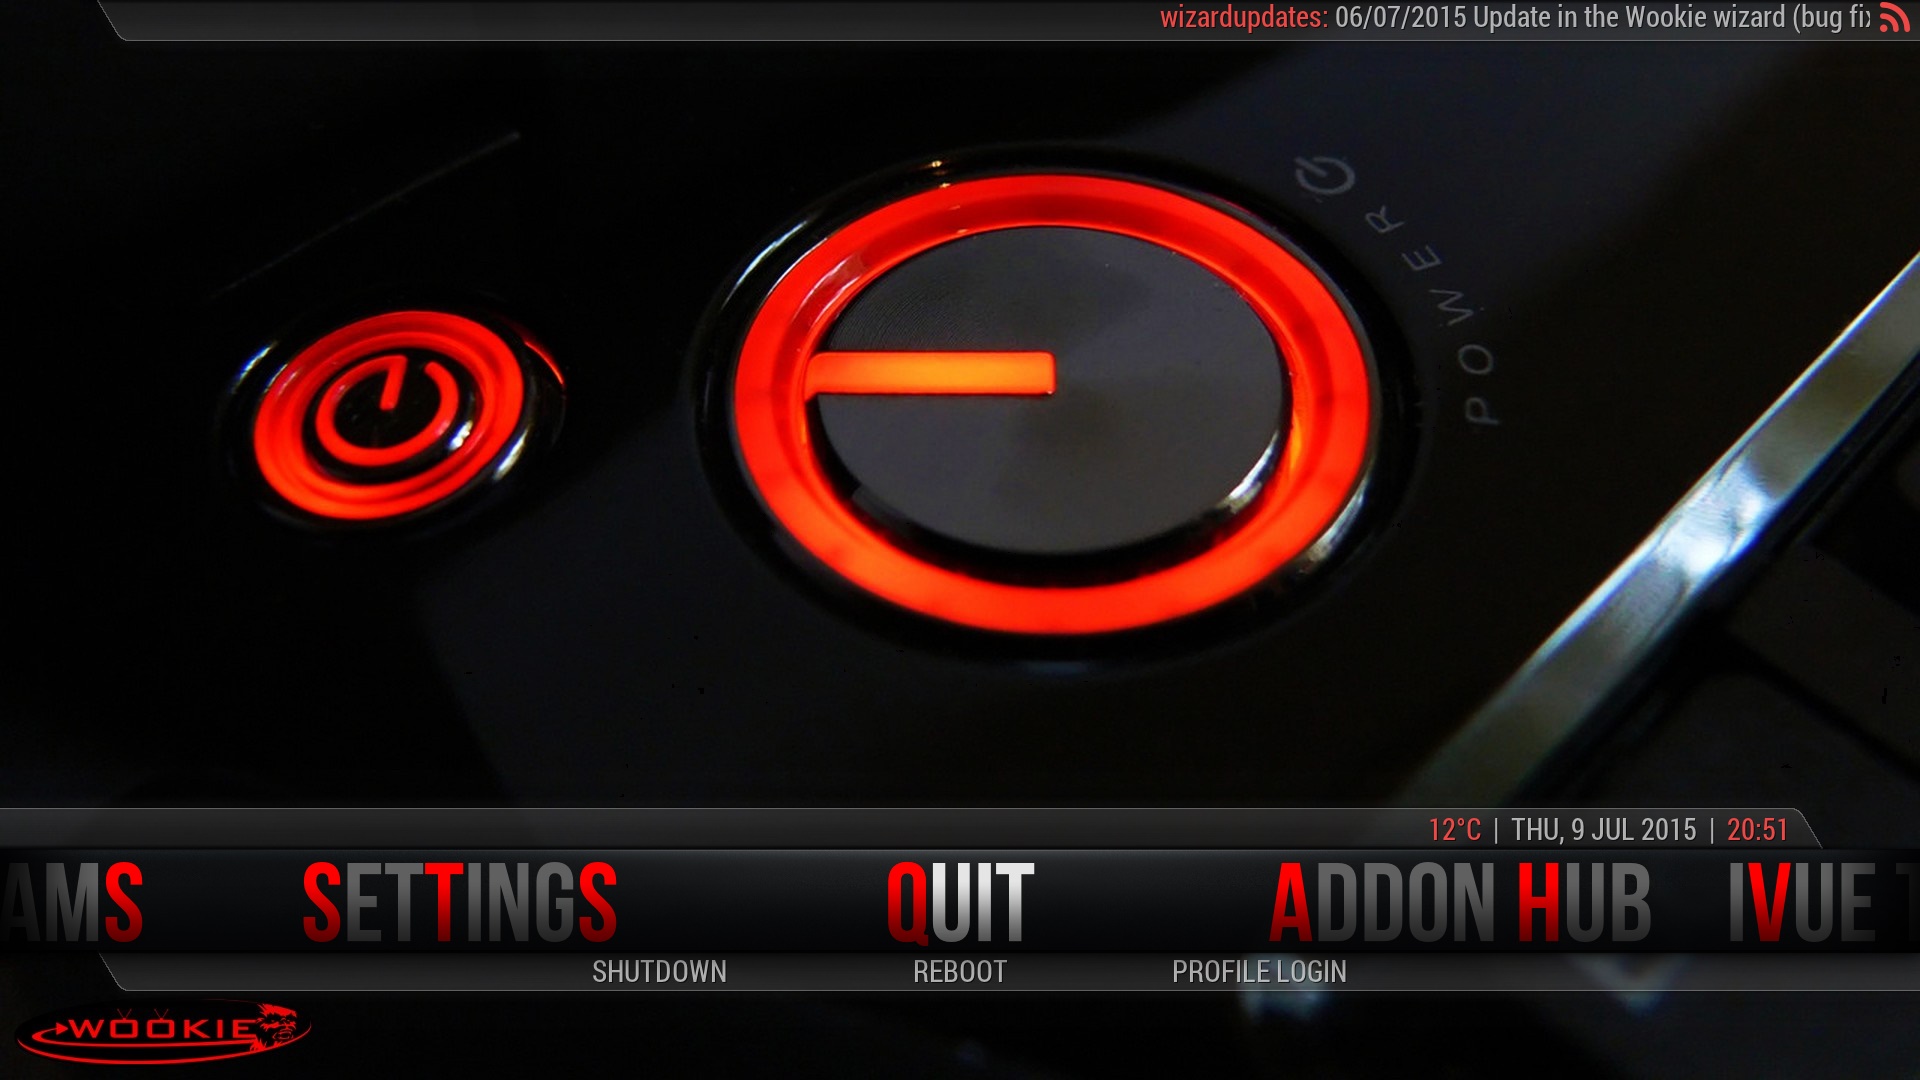
Wookie comes preloaded with loads of features and looks amazing. Wookie comes with the most popular repos and streams and can be installed on most devices.
A lot of people make the assumption that it will be a direct replacement for either Sky or Virgin Media.
Let’s be clear about this.
Although you can view most of the content and a whole lot more than is currently available of either Sky or Virgin Media, you will still need to tinker with the box to get the best experience on this platform. There is a learning curve involved and you will need to learn the steps and processes to update and add content. You will also need to get used to the terminology as well. Once you overcome this you will be fine.
There is an great on-line community that is always ready to help any newbie that needs any assistance. Help can be found on Twitter, Facebook and on-line forums and any requests will be answered promptly and without condescension. They are really welcoming to new users and there are no stupid questions. They truly recognise that we were all new to this once,
The ones that I have found to be the most informative and helpful are:


Forums

Websites


I will no doubt add to this list as time goes on.
I have been using the T8-AML-V2 for a few weeks now and this is my personal experience . I did have some teething issue to begin with, but this was more to do with poor timing that anything else.
droidsticks.co.uk have a lot of youtube videos but they all discuss using the droidsticks installer.
droidsticks.co.uk no longer use the droidsticks installer and are pointing users to the Wookie installer instead.
When you follow the instructions to install the Wookie installer, there are a choice of installers depending on the device that you are using. For me the choice was between the Kodi installer or the spmc installer.
I’m using the T8-AML-V2 running Kodi 14.2 Helix but the documentation from droidsticks.co.uk advised to install the spmc installer and not the Kodi installer.
Confused, just a little bit.
I have installed the spmc installer on my T8-AML-V2, and as part of the install you enter a username and password.
Wookie provide a free username and password to install Wookie successfully. These can be found online on their twitter feed.
droidsticks.co.uk provided a username and password that you can use. Using the supplied droidsticks.co.uk logins give you access to additional services on the platform that you would normally need to subscribe to.
*At the time of writing, droidsticks.co.uk no longer distribute a username and password with any hardware that they sell.
Once Wookie has been installed successfully you will need to reboot the android box (pulling the power cable from the box is the preferred method). Once the box has rebooted, select Kodi and you will see Wookie in all its glory.
As I have said before, Wookie is amazing.
It really does looks superb, its quick, slick and the layout is spectacular. Everything is laid out intuitively with the most popular feeds accessible instantly.
The skins look amazing as well. It has an EPG Guide baked in giving you access to the most popular TV channels, You also have access to the most popular repos online.
You should take some time to familiarise yourself with the layout as there are lots of content under the hood. You will soon learn where the best streams and feeds are for the content that you are interested in. Some of the links and streams may not work and other content may be subscription based. But I am confident that you will find what you are looking for.
Overall I am really pleased with both the T8-AML-V2 and Wookie.
Once the football season starts I will provide a further update, as this is when the sports links will be in most use.
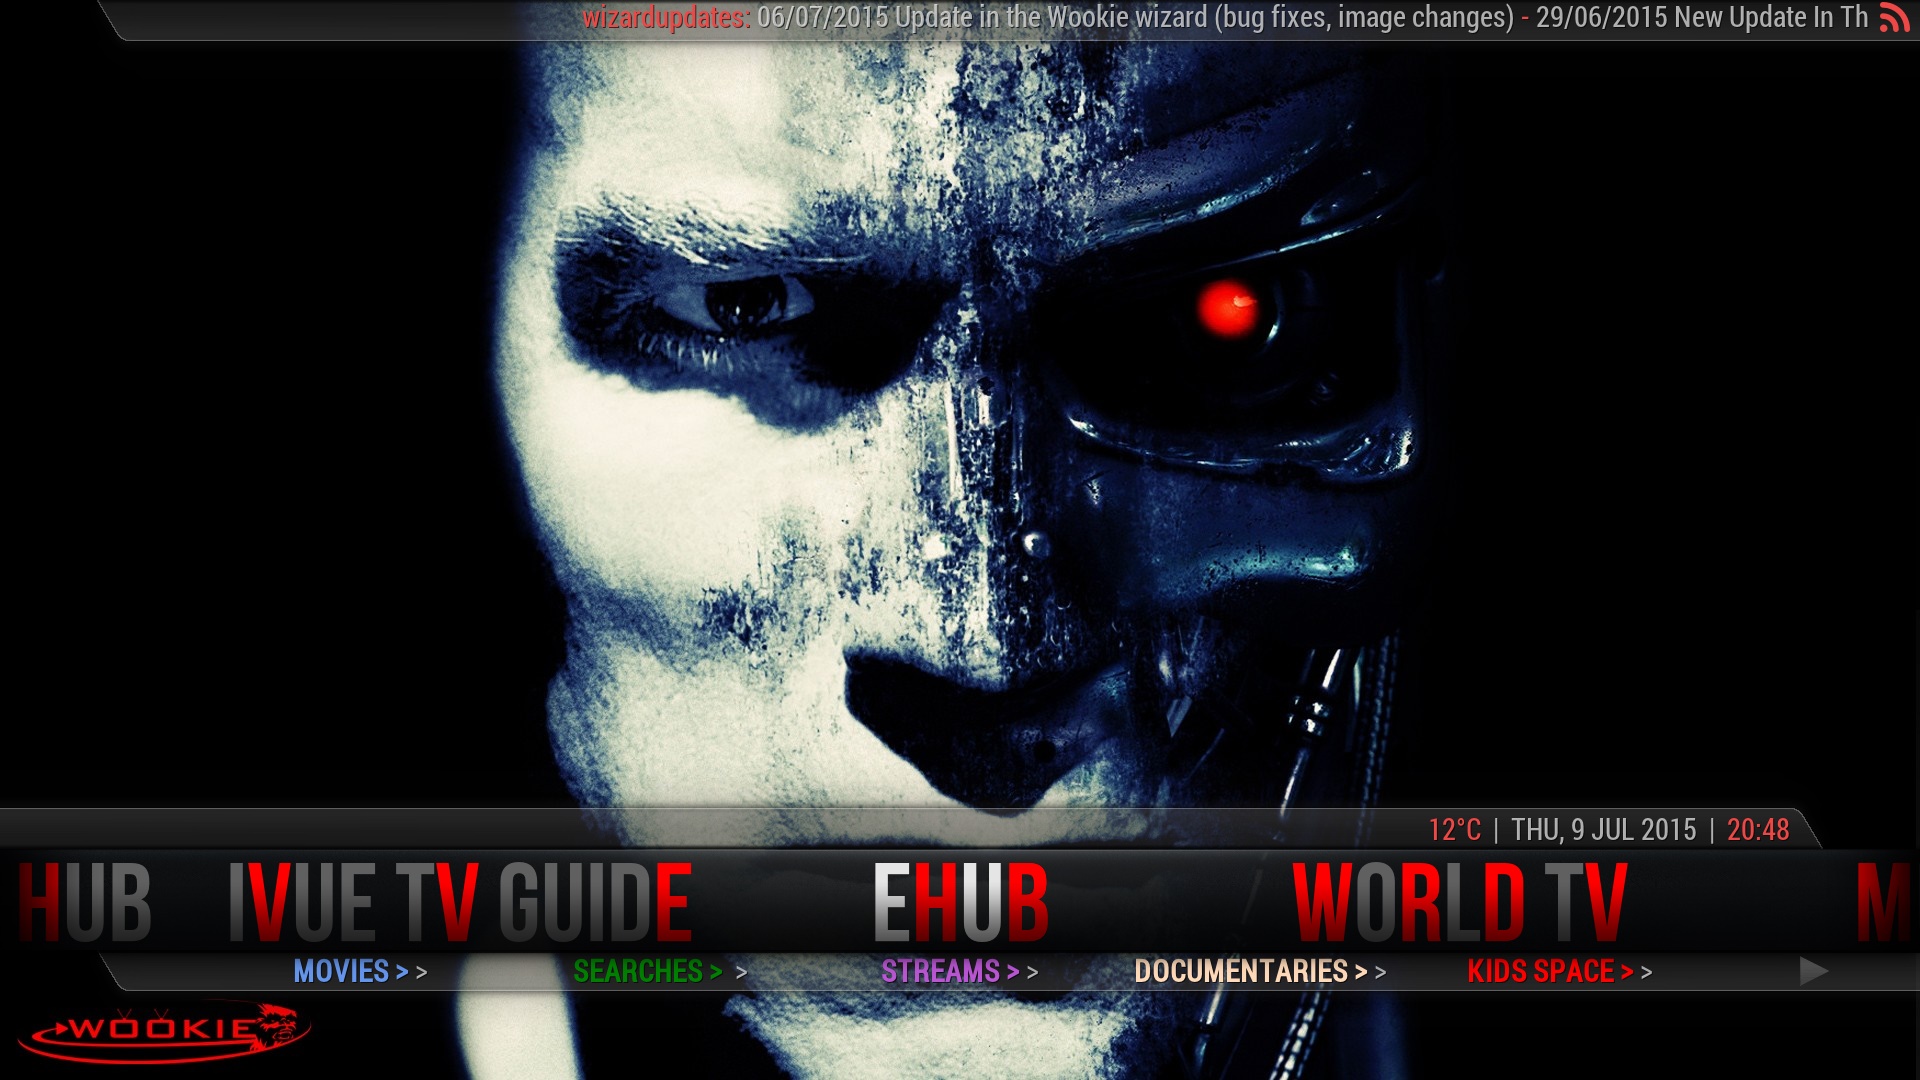
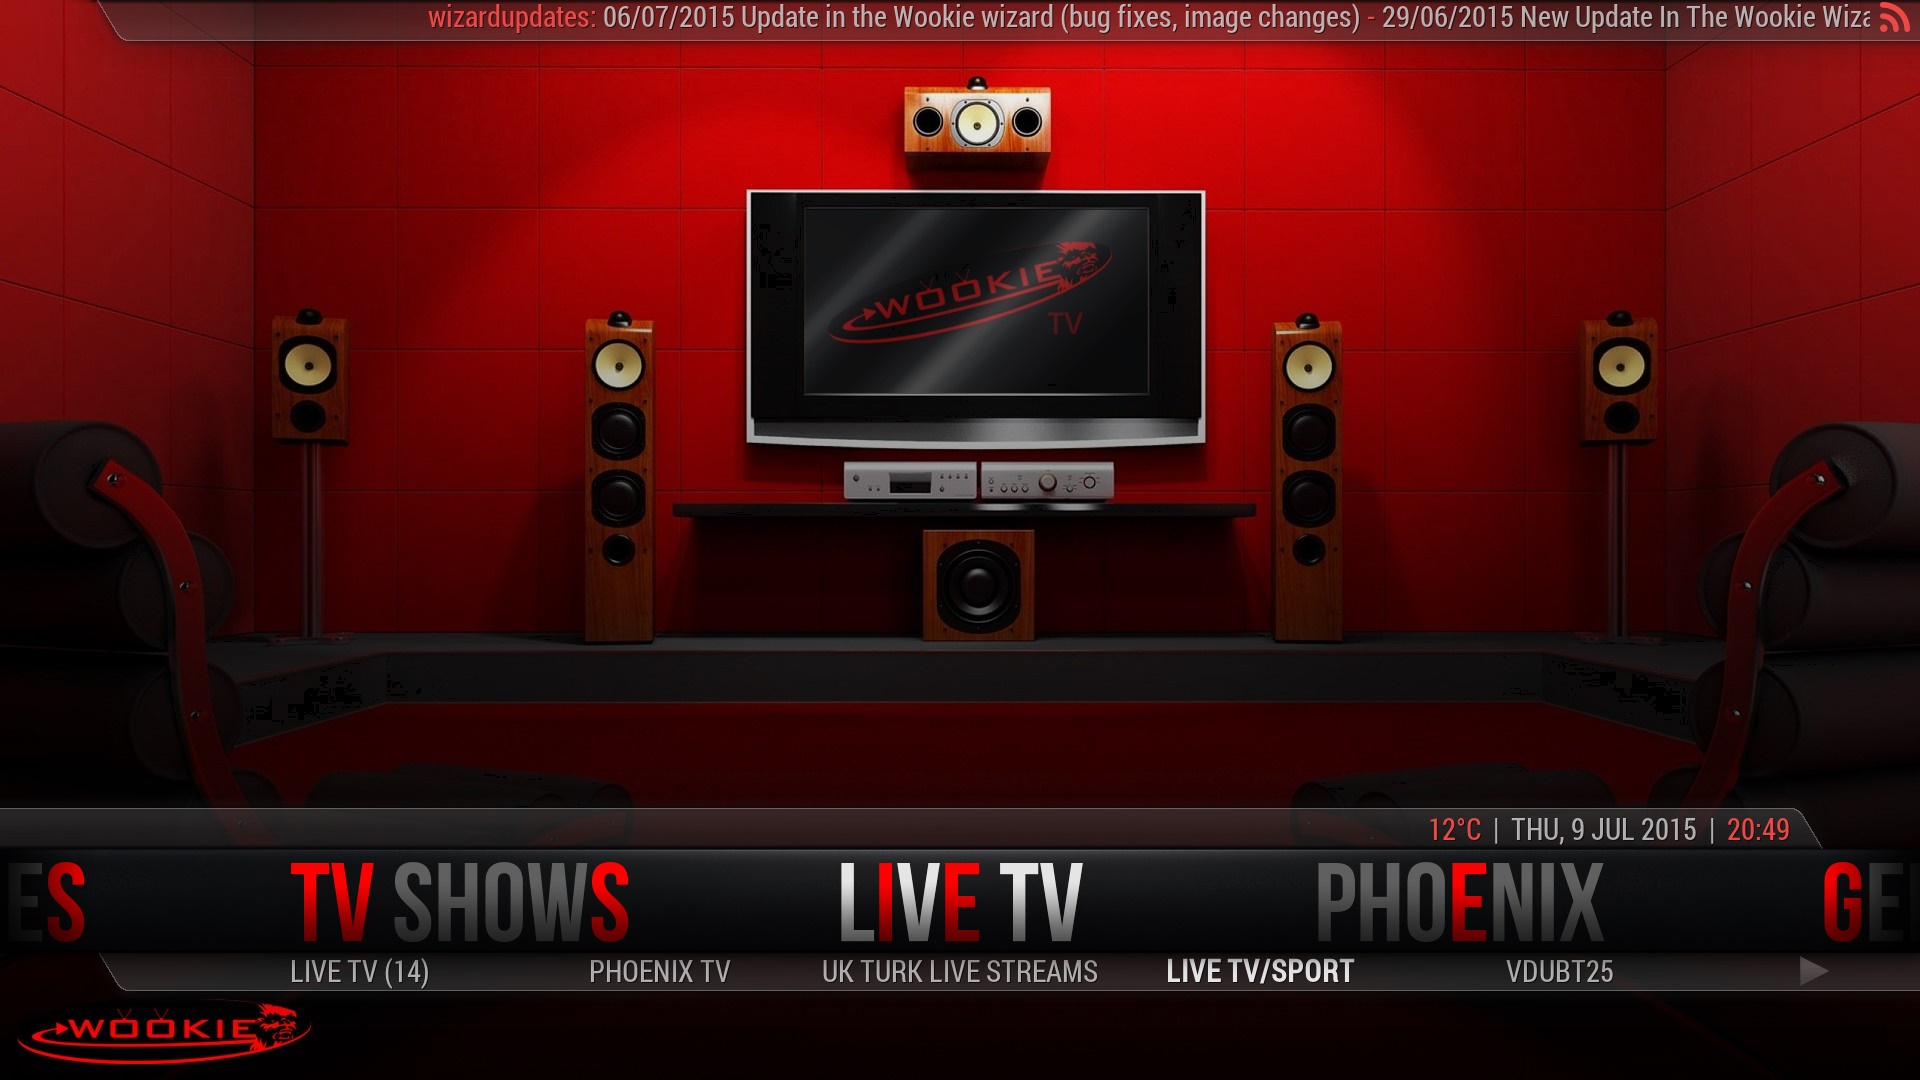
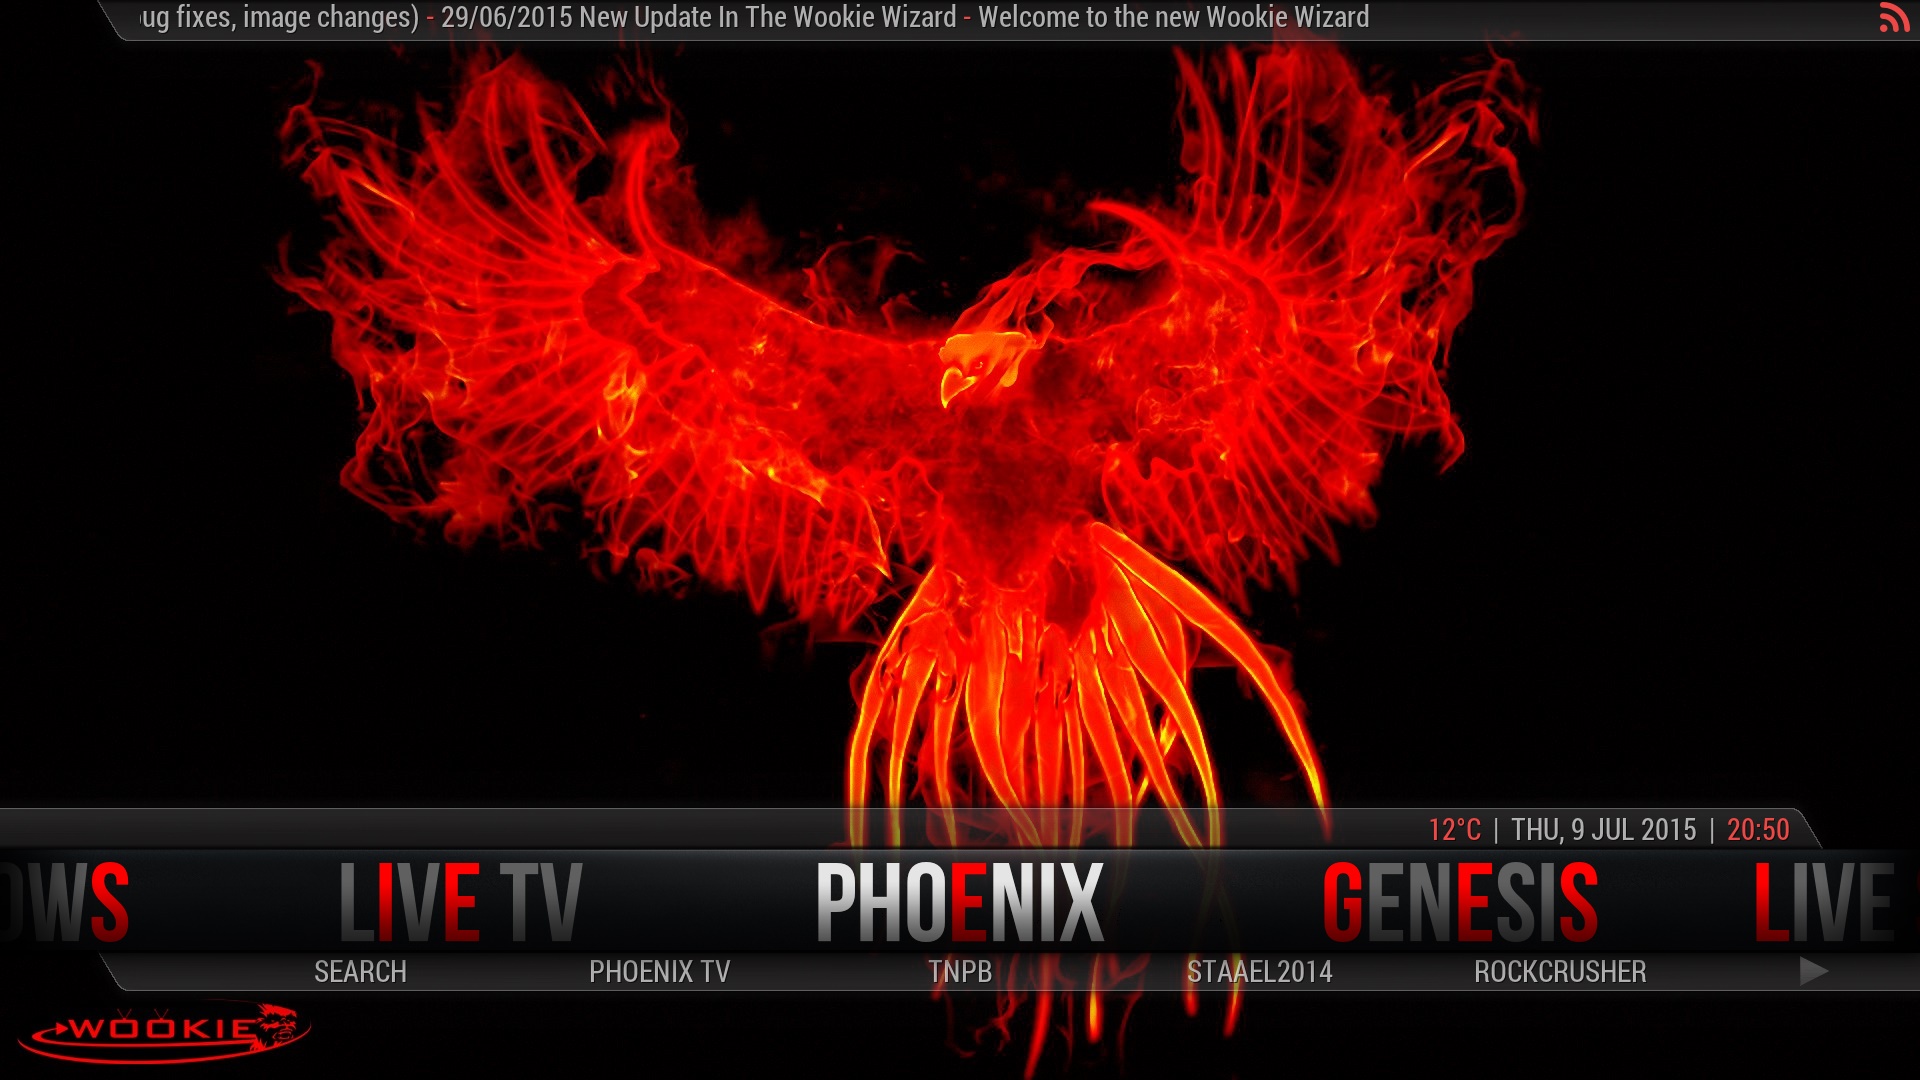
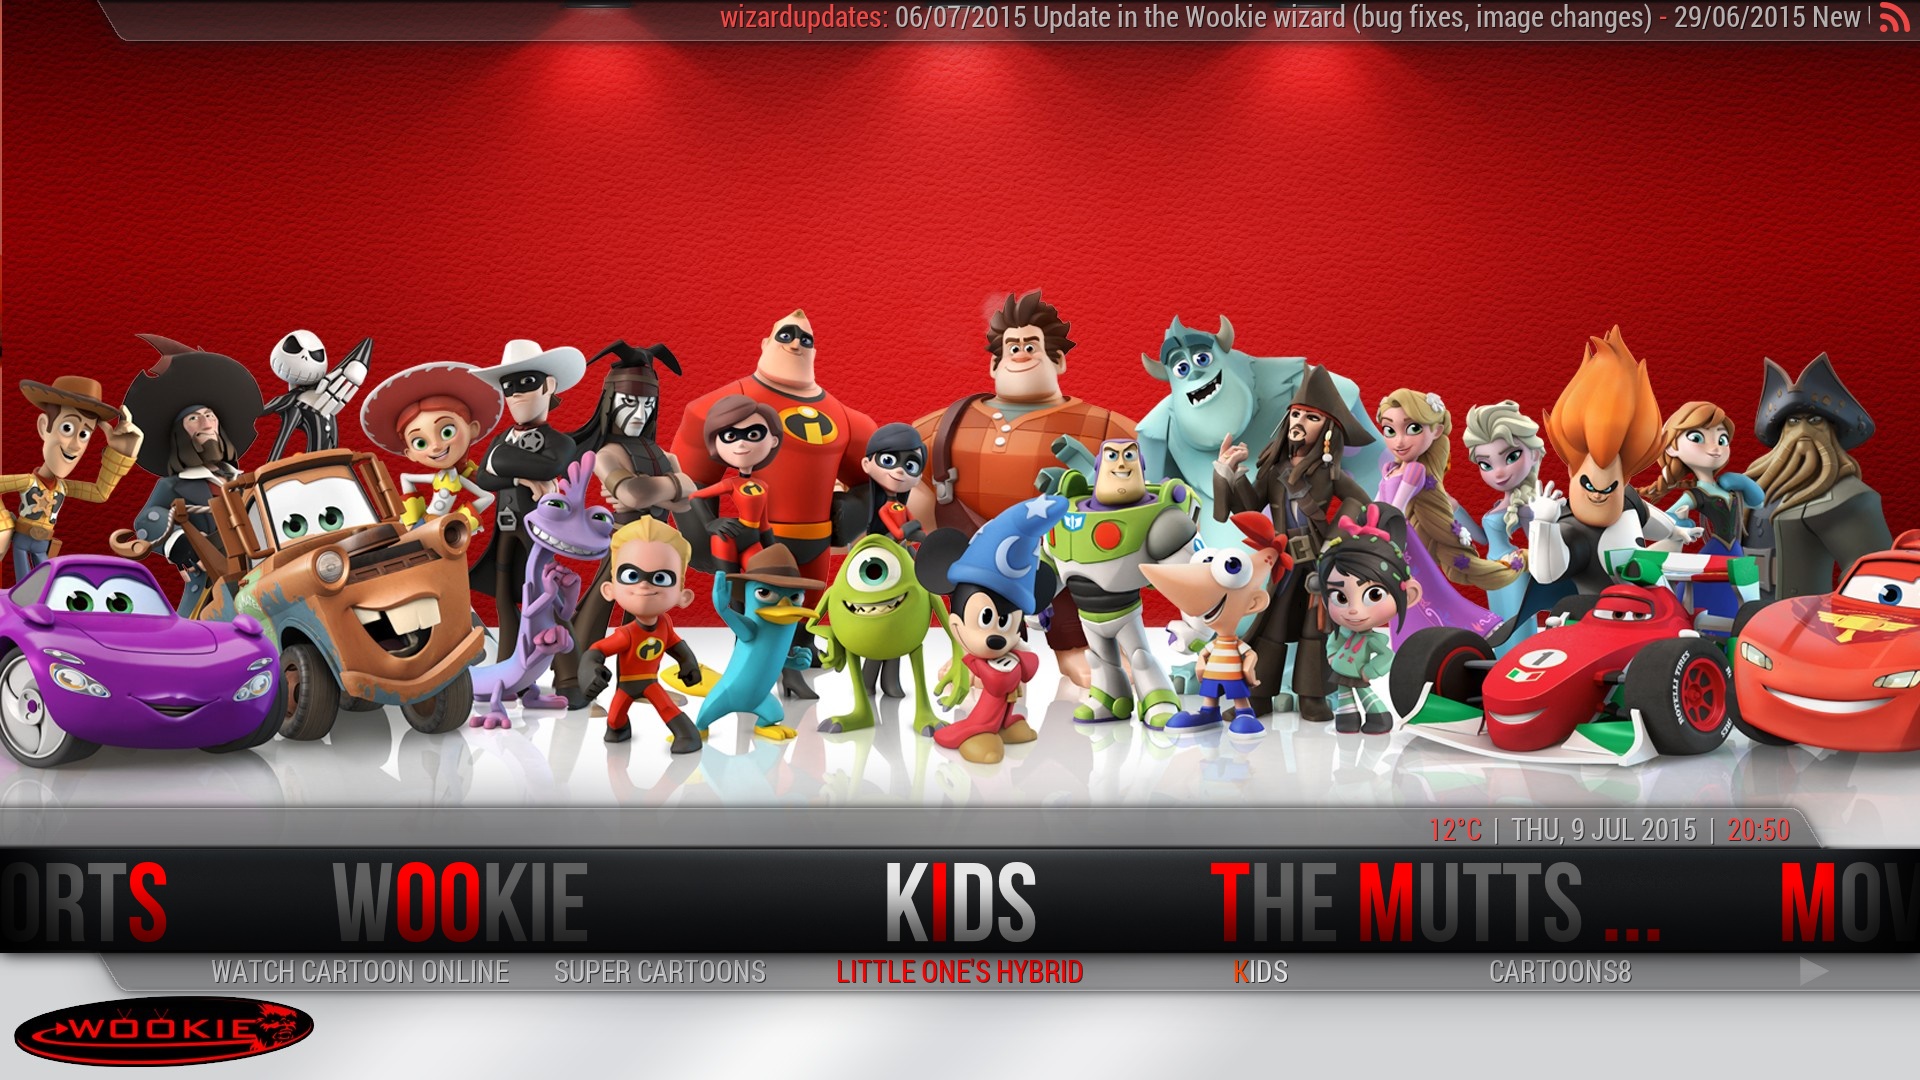
Below is a sample of some of the screenshots on Kodi.


Passenger Album Cover
I have been listening to a lot of music by Passenger. The guy has an great voice and his music is amazing. If you get a chance check him out you won’t be disappointed.
I have been thinking about upgrading to a new phone.
For a long time I was an iPhone fan boy. I’ve had an iPhone 3Gs and an iPhone 4s. My contract was up for renewal and I felt it was time for a change.
After much though and a bit of research I had decided it was between a Samsung Galaxy S4, a HTC One or a Sony Xperia Z1.
I chose the Sony Xperia Z1 and I have to say I am really happy with my choice.

It is a lot bigger than I was used to but now that I have been using for a while it feels and looks really good.
I haven’t had a chance to take too many photographs or videos.
The are plenty of apps to use and music playback is really good.
Overall, I am really happy with the Sony Xperia Z1
(It better be as I have it for next 2 years)
In this tutorial we will go over the steps to setup an email account in entourage on osx
Before you begin, you will need to the know the following details.
Entourage (using the Account Setup Wizard)
1. Open Entourage by double-clicking the Entourage application icon in the Applications folder, or clicking it in the ‘Dock’.
2. From the Tools menu, select Accounts, that brings up the Accounts window. Click New and select Mail.
Mac Entourage – accounts
Entourage > Accounts > Mail
3. Next, enter your full name. This is what will appear in the ‘From’ line of the emails you send to people. Click the next arrow in the bottom right of the window.
Mac Entourage – Your name
Mail > Your name
4. Enter your email address. This usually takes the form:
mailbox_name@username.com
Mac Entourage – accounts
Mail > Account Setup Assistant > Your E-mail Address
4. Choose POP as your mail server type. Enter the incoming and outgoing servers as shown:
Incoming Mail Server: pop.domainname.com
Outgoing Mail Server: smtp.domainname.com
Click the next arrow.
Mac Entourage – accounts
Mail > Account Setup Assistant > Server settings
5. Enter your account username and password. Note that these are case sensitive.
Mac Entourage – accounts
Mail > Account Setup Assistant > Username and password
6. Enter an account name. This can be anything, it is required to distinguish multiple email accounts you might set up in Entourage. Click Finish.
Mac Entourage – accounts – Username and password
Mail > Account Setup Assistant > Username and password
Changing account settings
1. From the Tools menu, select Accounts, that brings up the Accounts window. Click Mail. Double click on the account you wish to change.
Mac Entourage – accounts – Mail
Entourage > Accounts > Mail
2. Edit the Account settings.
Mac Entourage – accounts – accounts settings
Entourage > Accounts > Account Settings
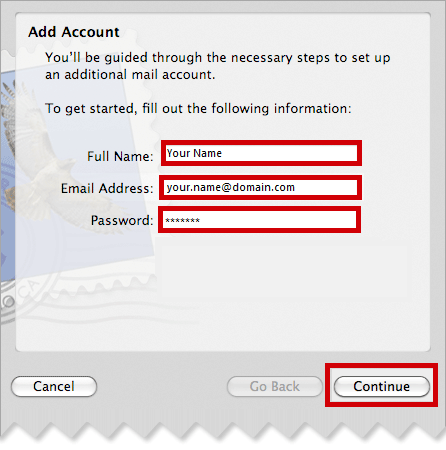
In this tutorial we will go over the steps to setup an email account in macmail osx
Before you begin, you will need to the know the following details.
1. Choose Add Account from the File Menu

| Full Name : | This is the name that you want to appear on the e-mail |
| E-Mail Address : | This is the email address you want replies to come to |
| Password: | This is the password you associated with your mailbox in the control panel |
Incoming Server Information |
|
|---|---|
| Account Type : | Choose Account Type |
| Description : | An Identifier for that account |
| Incoming Mail Server : | Enter incoming mail server settings here |
| User Name : | This is your full email address as configured in your control panel (eg your.name@domain.com) |
| Password : | This is the password you associated with your mailbox in the control panel |

Outgoing Server Information |
|
|---|---|
| Description : | An Identifier for that account |
| Outgoing Mail Server : | Enter outgoing mail server settings here |
| Use Authentication : | Yes |
| User Name : | This is your full email address as configured in your control panel (eg your.name@domain.com) |
| Password : | This is the password you associated with your mailbox in the control panel |

n this tutorial we will go over the steps to setup an email account in outlook 2007
Before you begin, you will need to the know the following details.

a photo taken on my 1st outing with my camera